There’s a unique magic to seeing the world from above. For years, this perspective was reserved for those in helicopters or planes. But today, with the rise of incredible technology, a breathtaking bird’s-eye view is accessible to everyone through aerial drone photography. This exciting field combines the thrill of flight with the art of photography, allowing you to capture stunning landscapes, dynamic cityscapes, and unique perspectives that were once impossible. Whether you’re a seasoned photographer looking to expand your toolkit or a complete beginner fascinated by drones, this guide will walk you through everything you need to know to get started and capture jaw-dropping images from the sky.
As the lead content creator at RVSWS and someone who’s spent over 15 years in the field, I’ve witnessed the evolution of drone technology firsthand. The creative possibilities are truly limitless, but getting those perfect shots requires more than just sending a drone into the air. It demands a blend of technical skill, artistic vision, and a solid understanding of safety and regulations.
What Exactly is Aerial Drone Photography?
At its core, aerial drone photography is the art of capturing images from an airborne craft, specifically a drone (or Unmanned Aerial Vehicle – UAV). Unlike traditional photography, it unlocks a third dimension of movement—altitude. This allows you to create images with unparalleled scale, context, and drama. You can photograph the intricate patterns of a coastline, reveal the symmetry of architectural designs, or capture an event from an all-encompassing viewpoint. It’s about leveraging height and perspective to tell a story in a powerful new way.
Choosing the Right Drone for Your Photographic Journey
The drone market is vast, but not all drones are created equal when it comes to photography. A drone built for racing is vastly different from one designed for cinematic imaging. When selecting a drone for aerial drone photography, here are the key features you should focus on:
- Camera Quality: This is non-negotiable. Look for a drone with a high-resolution sensor (at least 12 megapixels, but 20MP or more is better) and the ability to shoot in RAW format. RAW files capture more image data, giving you far greater flexibility during post-processing.
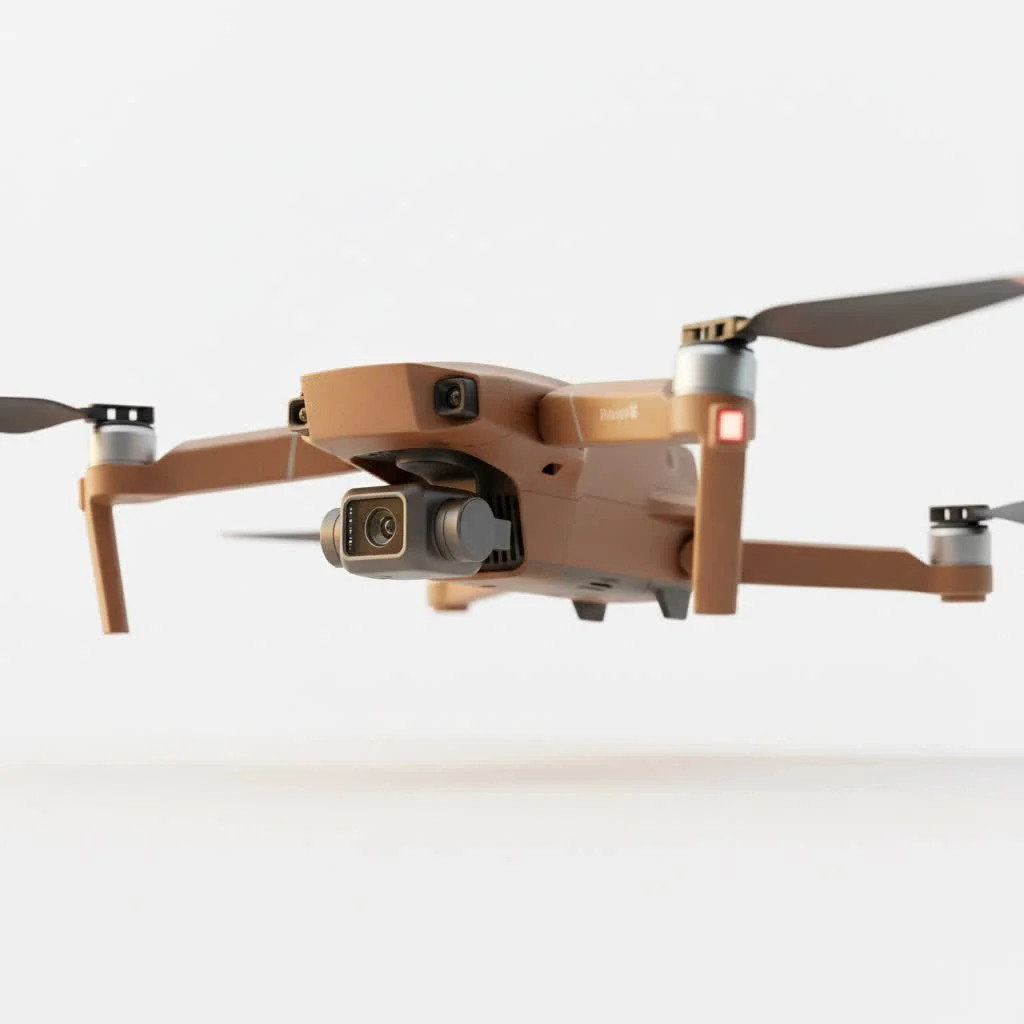
- Gimbal Stabilization: A 3-axis mechanical gimbal is essential. This device holds the camera and physically compensates for the drone’s movements, tilts, and vibrations. Without it, your photos will be shaky and blurry, no matter how good the camera is.
- Flight Time: The longer the battery life, the more time you have to scout a location, compose your shot, and wait for the perfect light. Aim for a drone that offers at least 25-30 minutes of flight time per battery.
- GPS and Stability: A drone with a reliable GPS system can hold its position accurately, even in light winds. This is crucial for long-exposure shots and for ensuring you can precisely frame your image without drifting.
- Intelligent Flight Modes: Features like “Point of Interest,” “Waypoint Navigation,” and “Active Track” can automate complex flight paths, allowing you to focus entirely on operating the camera and capturing the perfect shot.
Mastering the Fundamentals of Drone Photography
Once you have your drone, it’s time to learn the techniques that separate a simple snapshot from a breathtaking work of art. Many principles of ground-based photography apply here, but with a unique aerial twist.
How Do You Compose a Great Aerial Photo?
|
Our Picks for the Best Drone in 2026
As an Amazon Associate I earn from qualifying purchases.
|
||
| Num | Product | Action |
|---|---|---|
| 1 | DJI Neo Three-Battery Combo, Mini Drone with 4K UHD Camera for Adults, 135g Self Flying Drone that Follows You, Palm Takeoff, Subject Tracking, QuickShots, Stabilized Video (Controller-Free) |

|
| 2 | Drone with 1080P Camera for Beginners and Adults, Foldable Remote Control Quadcopter with Voice Control, Gestures Selfie, Altitude Hold, One Key Start, 3D Flips, 2 Batteries, Toy for Beginners |
|
| 3 | DJI Mini 5 Pro Fly More Combo with DJI RC 2, Drone with Camera, 1-Inch CMOS, 4K Drone for Beginners with Omnidirectional Obstacle Sensing, ActiveTrack 360°, 225° Gimbal Rotation, 3 Batteries |
|
| 4 | Drone with Camera 1080P HD FPV Foldable Drone for Adults and Beginners, RC Quadcopter with Gravity Control, One Key Take Off/Land, Optical Flow Positioning, 360° Flip, 3 Speed Mode, Waypoint Fly Grey |
|
| 5 | LỖI |
|
| 6 | Drone with Camera for Adults, 2K HD FPV Drones with Upgrade Altitude Hold, One-Key Take Off/Landing, Speed Adjustment, Headless Mode, 2 Batteries, Toys Gifts for Teen Boys Girls, Beginner |
|
| 7 | Drone with Camera - Drones for Adults, with 2 Batteries, Carrying Case, Propellers, 1080P HD Foldable Drone with Stable Hover, Trajectory Flight, Gravity Control, One Key Take Off/Land, 3D Flip |
|
| 8 | DJI Mini 3 (DJI RC), Lightweight 3x Mechanical Gimbal Drones with Camera for Adults 4K, 38-min Flight Time, up to 32800ft (10km) Video Transmission, Vertical Shooting, GPS Auto Return Integrated |
|
| 9 | DJI Mini 3 Fly More Combo (DJI RC), Drones with Camera for Adults 4K, 3 Batteries for 114-min Flight Time, Vertical Shooting, 32800ft (10km) Video Transmission, Lightweight Mini Drone for Beginners |
|
| 10 | DJI Neo, Mini Drone with 4K UHD Camera for Adults, 135g Self Flying Drone that Follows You, Palm Takeoff, Subject Tracking, QuickShots, Stabilized Video, Built-In Propeller Guard (Controller-Free) |
|
Composition is the arrangement of elements within your frame. From the air, you have incredible freedom to change your composition not just left and right, but up and down.
- Rule of Thirds: Imagine your screen is divided into a 3×3 grid. Place key elements of your scene along these lines or at their intersections. This creates a more balanced and visually interesting image than simply centering the subject.
- Leading Lines: Use roads, rivers, coastlines, or fences to create lines that guide the viewer’s eye through the image towards your main subject.
- Symmetry and Patterns: From above, you can often spot incredible patterns and symmetry that aren’t visible from the ground. Look for these in architecture, farmland, forests, and city grids.
- Top-Down Perspective: Also known as a “flat lay,” shooting directly down (90-degree angle) can create a unique, abstract feel. This is perfect for showcasing patterns and textures.
Why is Light So Important in Drone Photography?
Light is everything in photography, and this is especially true in the air. The time of day you choose to fly will dramatically impact the look and feel of your photos.
The “golden hour”—the first hour after sunrise and the last hour before sunset—is widely considered the best time for photography. During this period, the sun is low in thesky, casting long, soft shadows and bathing the landscape in a warm, golden light. This adds depth, dimension, and mood to your images. Midday sun, on the other hand, is directly overhead, which can create harsh shadows and flat, washed-out images.
Essential Camera Settings for Your Drone
To move beyond automatic mode and unlock your drone’s full potential, you need to get comfortable with manual camera settings.
- File Format (RAW vs. JPEG): Always shoot in RAW. A JPEG is a compressed, processed image with limited editing potential. A RAW file is an uncompressed “digital negative” that contains all the sensor data, giving you maximum control over exposure, colors, and details in post-processing.
- ISO: This setting controls the camera’s sensitivity to light. Keep your ISO as low as possible (typically 100) to ensure the cleanest, most detailed image with the least amount of noise or grain. Only increase it if you’re shooting in very low light without a tripod (which isn’t an option for a drone).
- Shutter Speed: This determines how long the camera’s sensor is exposed to light. A faster shutter speed freezes motion, while a slower one creates motion blur. For sharp photos, you’ll generally use a faster shutter speed. However, you can use a slower speed creatively for long-exposure shots of water or light trails, but this requires a very stable drone in calm conditions.
- Aperture: This controls the opening in the lens that lets light in. Most consumer drones have a fixed aperture, but higher-end models allow you to adjust it. A wider aperture (smaller f-number) lets in more light, while a narrower aperture (larger f-number) lets in less.
“Many beginners in aerial drone photography focus too much on just getting high up. The real art is in finding that perfect mid-altitude sweet spot where you reveal scale and context without losing the intimate details of the landscape. It’s about perspective, not just altitude.” – Alex Harrison, RVSWS Drone Expert
Pro Tips for Jaw-Dropping Aerial Shots
Ready to elevate your skills? Here are a few professional tips to help you capture truly stunning images.
- Scout Your Location: Don’t just show up and fly. Use tools like Google Earth to explore a location beforehand. Look for interesting compositions, potential hazards, and the best launch spots.
- Use Filters: Neutral Density (ND) and polarizing filters are essential tools. ND filters reduce the amount of light entering the lens, allowing you to use slower shutter speeds for cinematic motion blur in videos or to smooth out water in photos. A polarizing filter reduces glare and reflections from surfaces like water and glass, making colors appear more saturated.
- Bracket Your Shots: Auto Exposure Bracketing (AEB) is a feature on most drones that takes several photos of the same scene at different exposure levels (e.g., one normal, one underexposed, one overexposed). You can then merge these photos in post-processing to create a High Dynamic Range (HDR) image with perfect detail in both the bright highlights and dark shadows.
- Experiment with Altitude and Angles: Don’t be afraid to move the drone around. Fly low to the ground for a dramatic sense of speed and scale, or fly high for a grand, sweeping vista. Change your camera angle—it doesn’t always have to be pointed forward.
- Prioritize Safety and Regulations: Always be aware of your surroundings and follow local laws. In the United States, this means adhering to FAA regulations. Fly in open areas, maintain a visual line of sight with your drone, and never fly over crowds or near airports. A safe flight is a successful flight.
Basic Post-Processing to Enhance Your Images
The final step happens on your computer. Post-processing is where you take your RAW files and bring your creative vision to life. Using software like Adobe Lightroom or Skylum Luminar, you can make adjustments to:
- Exposure and Contrast: Fine-tune the brightness and darkness to make your image pop.
- Color Correction: Adjust white balance, vibrancy, and saturation to create a specific mood.
- Cropping and Straightening: Perfect your composition and ensure the horizon is level.
- Sharpening: Add a touch of sharpness to bring out fine details.
The goal is not to fake a photo, but to enhance what you captured in the field, correcting for the limitations of the camera sensor and drawing the viewer’s eye to the most important parts of the image.
Frequently Asked Questions
What is the best drone for a beginner in photography?
For beginners, a drone like the DJI Mini series is an excellent starting point. It’s affordable, easy to fly, exempt from registration in some regions due to its low weight, and has a surprisingly capable camera that can shoot in RAW.
Do I need a license for aerial drone photography?
Regulations vary by country. In the US, if you are flying for purely recreational purposes, you generally don’t need a license, but you must pass The Recreational UAS Safety Test (TRUST). However, if you intend to use your photos for any commercial purpose (selling prints, client work, etc.), you must obtain a Part 107 certificate from the FAA.
How high can I legally fly my drone?
In most regions, including the United States, the maximum legal altitude for a drone is 400 feet (120 meters) above ground level. This is to keep drones clear of manned aircraft.
Can I fly my drone in windy conditions?
While modern drones have excellent stability, it’s best to avoid flying in strong winds (typically above 20 mph or 32 kph). Wind can drain your battery faster, make it difficult to get stable shots, and in extreme cases, could cause you to lose control of the drone.
What is the most common mistake beginners make?
The most common mistake is flying straight up, pointing the camera down, and taking a picture. While this can sometimes be effective, it often results in flat, uninteresting photos. The key is to think like a photographer first and a pilot second—focus on composition, light, and subject matter.
Your Adventure in the Sky Awaits
Aerial drone photography is an incredibly rewarding hobby and profession that offers a fresh and powerful perspective on the world. It’s a dynamic blend of technology and creativity. By understanding your equipment, mastering the fundamentals of photography, and always prioritizing safety, you can move beyond simple snapshots and start creating breathtaking aerial art. So charge your batteries, find an open space, and start exploring the world from a new point of view. The sky is no longer the limit—it’s your canvas.
Get our weekly buyer guide
Practical specs, not advice. Unsubscribe anytime.
Absolutely loved this guide! As a complete beginner, I was overwhelmed by all the options, but this explained everything clearly. The part about combining the thrill of flight with the art of photography really resonated with me. I just bought my first entry-level drone and feel much more confident about getting started and capturing some stunning images.
This was super helpful for understanding how to get those unique perspectives. I’ve been using a basic drone for fun, but the section on flight planning and safety really made me think about my approach. I’m definitely going to apply some of these techniques to get more professional-looking shots of local landmarks. It’s amazing how much difference a little planning makes.
Good overview for beginners, but I was hoping for a bit more detail on specific camera settings for different lighting conditions. While it touched on capturing dynamic cityscapes, I felt like the advice was a little too general for someone trying to get really sharp night shots. Still, it’s a solid starting point for anyone new to the hobby.
I’ve been dabbling in photography for years, but aerial drone photography always seemed intimidating. This guide really broke down the basics, especially the tips on composition for landscapes. My first few attempts at capturing local parks have been so much better than I expected, and I’m already eyeing some of the more advanced drones mentioned for better low-light performance.