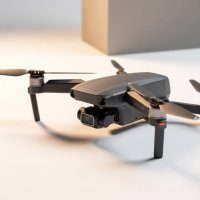
Have you ever dreamt of building a drone from the ground up, perfectly tailored to your specifications? For many enthusiasts, the idea of creating a custom flying machine is the ultimate goal. Thanks to advances in additive manufacturing, building your very own 3d printed drone is no longer a futuristic fantasy but a tangible and exciting reality. It’s a journey that combines technology, creativity, and the thrill of flight, offering a level of customization that you simply can’t get from an off-the-shelf model.
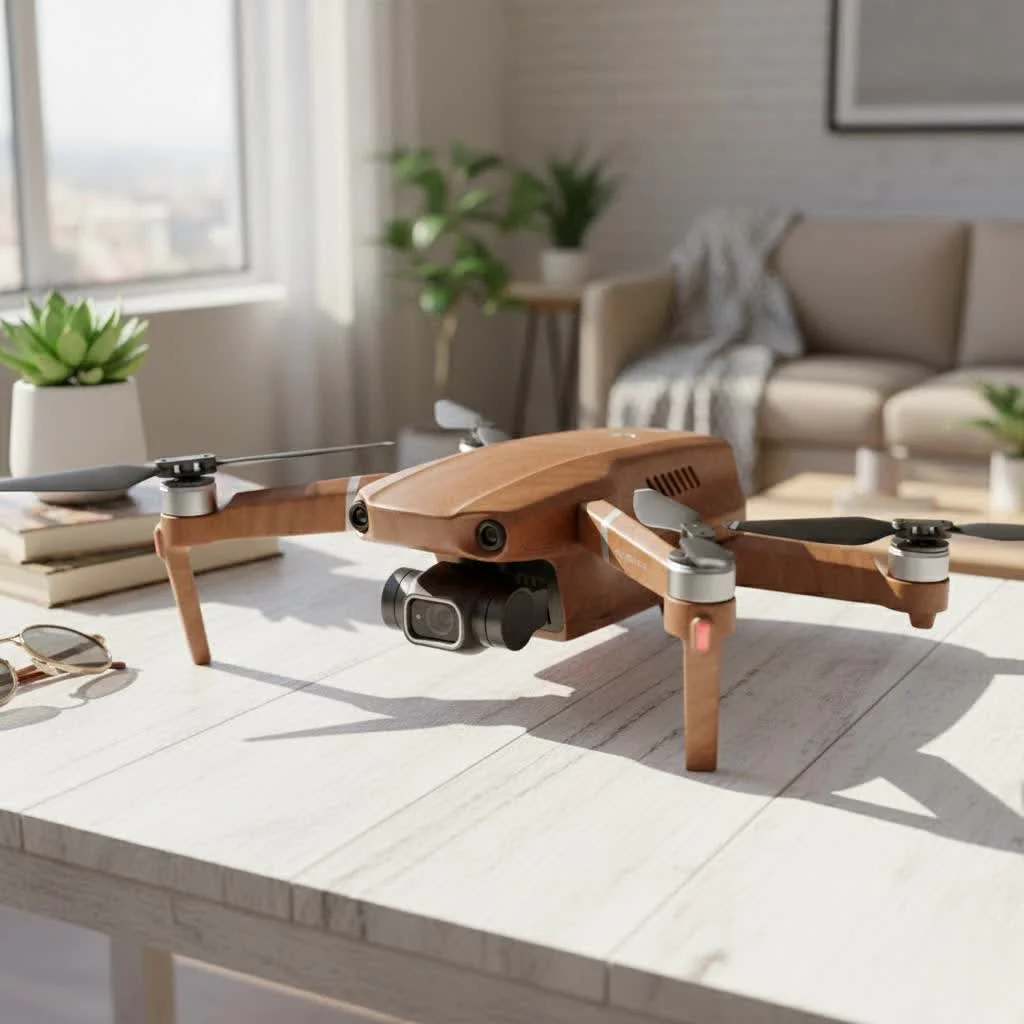
As someone who has been in the drone industry for over 15 years, I’ve seen technology evolve in incredible ways. Yet, nothing has democratized drone building quite like 3D printing. This guide is your starting point, whether you’re a seasoned pilot or a curious newcomer, to understanding the world of 3D printed drones.
Why Bother with a 3D Printed Drone?
Before you fire up your printer, it’s fair to ask: what’s the point? Commercially manufactured frames are readily available. The answer lies in three key advantages: customization, cost, and repairability.
- Unmatched Customization: This is the biggest draw. You are the designer. You can modify existing designs or create your own from scratch. Want to build a super-lightweight racing quad? Or a larger frame to carry a specific camera? With 3D printing, you can adjust arm thickness, motor mounts, and component layouts to create a drone that is uniquely yours.
- Cost-Effective Prototyping and Repairs: Crashing is an inevitable part of the drone hobby. A broken carbon fiber frame can be an expensive and frustrating setback. With a 3d printed drone, a crash often means printing a new arm or base plate for a few cents worth of filament. This makes it an ideal platform for learning and for pilots who push their limits.
- A Rewarding Learning Experience: Building your own drone is an incredibly educational process. You’ll gain a deep understanding of how every component works together—from aerodynamics and weight distribution to electronics and software.
Of course, it’s not without its challenges. 3D printed frames can be heavier and less rigid than their carbon fiber counterparts, and achieving the perfect balance of strength and weight requires some trial and error.
Choosing the Right Filament for Your Drone
The material you choose to print your drone with will have the single biggest impact on its performance and durability. Think of it as choosing the chassis for a car. You wouldn’t build a race car and a rock crawler from the same materials. Here’s a breakdown of the most common filament choices.
PLA (Polylactic Acid)
|
Our Picks for the Best Drone in 2026
As an Amazon Associate I earn from qualifying purchases.
|
||
| Num | Product | Action |
|---|---|---|
| 1 | Drone with Camera - Drones for Adults, with 2 Batteries, Carrying Case, Propellers, 1080P HD Foldable Drone with Stable Hover, Trajectory Flight, Gravity Control, One Key Take Off/Land, 3D Flip |

|
| 2 | DJI Neo, Mini Drone with 4K UHD Camera for Adults, 135g Self Flying Drone that Follows You, Palm Takeoff, Subject Tracking, QuickShots, Stabilized Video, Built-In Propeller Guard (Controller-Free) |
|
| 3 | Drone with 1080P Camera for Beginners and Adults, Foldable Remote Control Quadcopter with Voice Control, Gestures Selfie, Altitude Hold, One Key Start, 3D Flips, 2 Batteries, Toy for Beginners |
|
| 4 | Drone with Camera for Adults, 2K HD FPV Drones with Upgrade Altitude Hold, One-Key Take Off/Landing, Speed Adjustment, Headless Mode, 2 Batteries, Toys Gifts for Teen Boys Girls, Beginner |
|
| 5 | Drone with Camera 1080P HD FPV Foldable Drone for Adults and Beginners, RC Quadcopter with Gravity Control, One Key Take Off/Land, Optical Flow Positioning, 360° Flip, 3 Speed Mode, Waypoint Fly Grey |
|
| 6 | DJI Mini 3 Fly More Combo (DJI RC), Drones with Camera for Adults 4K, 3 Batteries for 114-min Flight Time, Vertical Shooting, 32800ft (10km) Video Transmission, Lightweight Mini Drone for Beginners |
|
| 7 | DJI Mini 3 (DJI RC), Lightweight 3x Mechanical Gimbal Drones with Camera for Adults 4K, 38-min Flight Time, up to 32800ft (10km) Video Transmission, Vertical Shooting, GPS Auto Return Integrated |
|
| 8 | LỖI |
|
| 9 | DJI Mini 5 Pro Fly More Combo with DJI RC 2, Drone with Camera, 1-Inch CMOS, 4K Drone for Beginners with Omnidirectional Obstacle Sensing, ActiveTrack 360°, 225° Gimbal Rotation, 3 Batteries |
|
| 10 | DJI Neo Three-Battery Combo, Mini Drone with 4K UHD Camera for Adults, 135g Self Flying Drone that Follows You, Palm Takeoff, Subject Tracking, QuickShots, Stabilized Video (Controller-Free) |
|
PLA is the go-to filament for most 3D printing beginners. It’s easy to print, affordable, and comes in a huge variety of colors. However, it’s also brittle and has a low melting point. A PLA frame is great for a prototype or a very light, indoor flyer, but it will likely shatter in a hard crash and can warp if left in a hot car.
PETG (Polyethylene Terephthalate Glycol)
This is often considered the sweet spot for 3D printed drone frames. PETG offers a fantastic blend of the ease-of-printing of PLA with much better strength and temperature resistance, similar to ABS. It has a bit of flex, which helps it absorb impacts rather than shattering. It can be a little tricky to get your print settings dialed in, but the results are well worth it.
ABS (Acrylonitrile Butadiene Styrene) & ASA (Acrylonitrile Styrene Acrylate)
ABS is known for its toughness and high-temperature resistance—it’s the same plastic LEGOs are made from. ASA is a close cousin with the added benefit of UV resistance, making it great for drones that will spend a lot of time in the sun. Both are excellent choices for durable frames but are more challenging to print, requiring a heated bed and often an enclosure to prevent warping.
Expert Tip: As aerospace materials specialist Dr. Alistair Finch notes, “The magic is in the layer adhesion. For a material like ABS or ASA to reach its full strength potential in a drone arm, printing at a higher temperature in an enclosed, heated chamber is non-negotiable. It ensures the part acts as a single, solid piece rather than a stack of weak layers.”
Carbon Fiber Composites (CF-Nylon, CF-PETG)
For the ultimate in stiffness and strength, you can turn to filaments infused with chopped carbon fibers. These materials offer a significant boost in rigidity over their standard counterparts, creating frames that can rival the performance of some commercial models. They are more expensive and can be abrasive to your printer’s nozzle, so a hardened steel nozzle is a must.
The Core Components You’ll Need
Once you’ve printed your frame, you’ll need the electronics to bring it to life. This is the heart and soul of your aircraft.
- Motors: Brushless motors are the standard for quadcopters. They are rated by size (e.g., 2207) and kV (RPM per volt). The size and kV you choose will depend on your drone’s size, weight, and intended purpose (racing vs. cinematic).
- Electronic Speed Controllers (ESCs): Each motor needs an ESC to control its speed. These are typically bundled into a single “4-in-1” board that mounts neatly in your drone’s central stack.
- Flight Controller (FC): This is the brain of your drone. It takes input from your radio controller and onboard sensors (like a gyroscope and accelerometer) to keep the drone stable in the air.
- Power Distribution Board (PDB): Often integrated into the 4-in-1 ESC, the PDB is responsible for routing power from the battery to all the components.
- Radio Receiver (Rx): This small component receives the signal from your handheld radio controller (transmitter) and feeds it to the flight controller.
- FPV Camera & Video Transmitter (VTX): If you’re building a First-Person View drone, you’ll need a small camera and a VTX to transmit the live video feed to your FPV goggles.
- Battery: LiPo (Lithium Polymer) batteries are the power source. You’ll need to match the battery’s voltage (cell count, e.g., 4S or 6S) to what your motors and electronics can handle.
Building Your Drone: A Quick Overview
While a full step-by-step build guide is a topic for another day, here is the general workflow you’ll follow:
- Find a Design: Start by searching for popular drone designs on platforms like Thingiverse, Printables, or MyMiniFactory. Look for models with good documentation and an active community.
- Print the Parts: Carefully print all the frame components using your chosen filament. Pay close attention to recommended print settings like infill percentage and layer height.
- Assemble the Frame: Use screws and nuts to assemble the printed parts. Now is a good time to pre-fit your electronics to ensure everything has a place.
- Mount the Motors: Solder the motors to the ESCs (or use motor plugs if available) and mount them securely to the arms.
- Install the Electronics Stack: Mount your 4-in-1 ESC and flight controller in the center of the frame.
- Connect Components: Solder the receiver, FPV camera, and VTX to the appropriate pads on the flight controller.
- Configure the Software: Connect your flight controller to a computer and use software like Betaflight Configurator to set up your controls, motor directions, and other flight parameters.
- Final Checks & First Flight: With propellers off, perform a final safety check. Once you’re confident everything is working, it’s time for the maiden flight!
Frequently Asked Questions (FAQ)
How much does it cost to build a 3D printed drone?
The cost can vary widely. The printed frame itself is very cheap, often just a few dollars in filament. The major cost is in the electronics. A budget build can be done for around $150-$200, while a high-performance FPV drone can easily exceed $400, not including the radio, goggles, and batteries.
Are 3D printed drones durable?
Their durability is entirely dependent on the design and the material used. A well-designed frame printed from PETG or ASA can be surprisingly tough and may even be more resilient to certain types of impacts than rigid carbon fiber. However, for high-speed racing and extreme freestyle, carbon fiber still reigns supreme in terms of strength-to-weight ratio.
What is the best 3D printer for drone parts?
You don’t need a top-of-the-line machine. Any well-calibrated printer that can handle materials like PETG will work. Printers with an enclosure are a huge plus if you plan to print with ABS or ASA, as it helps maintain a stable temperature and prevent warping.
Can I sell 3D printed drones?
This depends on the license of the design files you use. Many designs on sites like Thingiverse are for non-commercial use only. If you create your own design, you are free to sell it. Always be aware of local laws and regulations regarding the sale and operation of unmanned aircraft.
How heavy is a 3D printed drone frame?
A 3D printed frame will almost always be heavier than a comparable carbon fiber frame. For a typical 5-inch freestyle drone, a printed frame might weigh between 100-150 grams, whereas a carbon fiber frame could be between 60-120 grams. This extra weight can affect flight time and agility.
Your Journey Begins Here
Building a 3d printed drone is an immensely satisfying project that puts you in the pilot’s seat in more ways than one. It offers a unique blend of technical skill, creative freedom, and hands-on fun. The ability to design, print, and fly your own creation is a powerful feeling. You’ll crash, you’ll break parts, and you’ll learn with every repair and modification. But ultimately, you’ll have a drone that is truly your own. So, pick a design, choose your filament, and get ready to bring your custom aircraft to life.
Get our weekly buyer guide
Practical specs, not advice. Unsubscribe anytime.