Mastering drone videography involves selecting the right equipment, understanding pre-flight regulations, optimizing camera settings, and executing cinematic flight maneuvers. Key components include a 3-axis gimbal, 4K camera resolution, and intelligent flight modes, with essential techniques like the 180-degree rule and the use of ND filters ensuring professional-quality footage.
Choosing Your Aerial Steed: The Best Drones for Videography
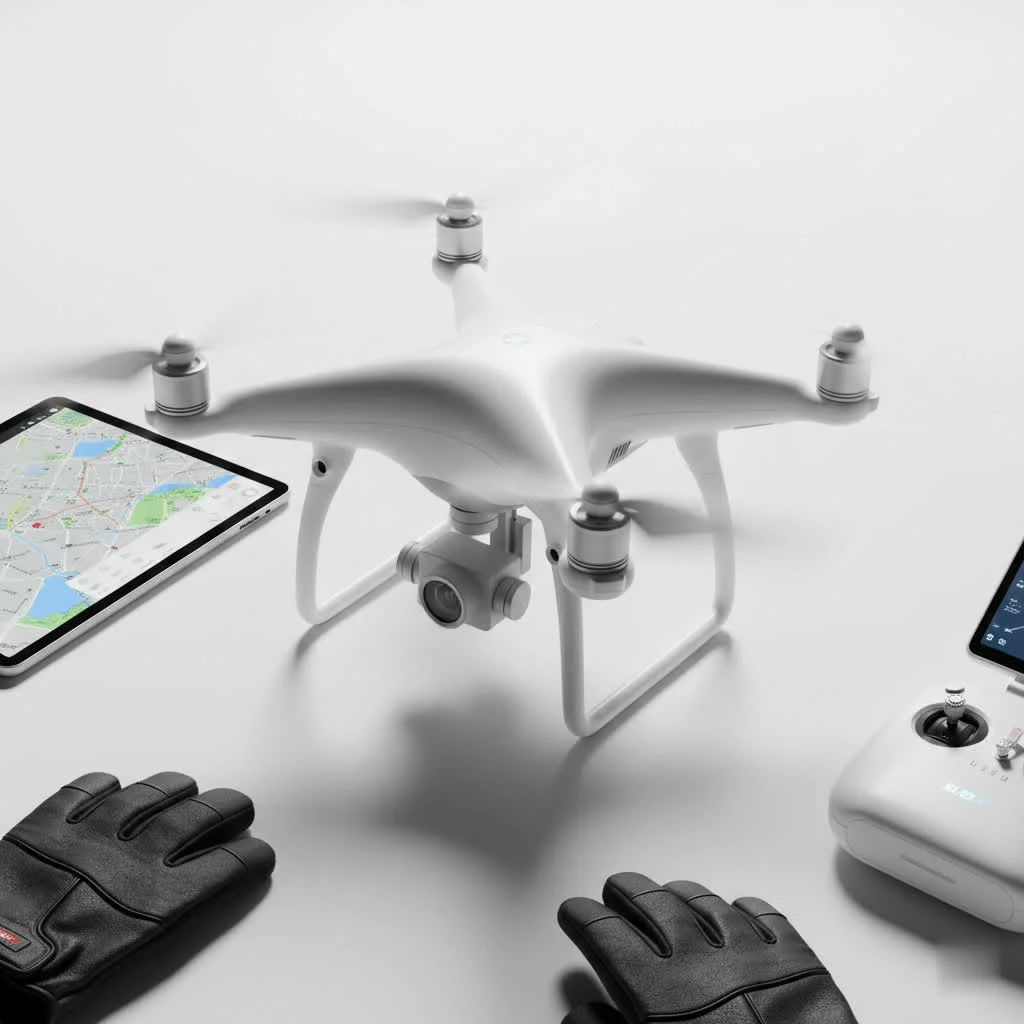
Your journey into drone videography begins with selecting the right tool for the job. While you can technically mount a camera on many things, a dedicated camera drone is non-negotiable for high-quality results. Modern drones designed for videography come packed with features that make capturing smooth, stable footage easier than ever.
When selecting a drone, here are the key features to prioritize:
- A 3-Axis Gimbal: This is the most critical component for smooth video. A 3-axis gimbal mechanically stabilizes the camera, counteracting the drone’s movements, vibrations, and wind gusts to produce buttery-smooth footage. Without it, your video will be shaky and unusable.
- Camera Quality: Aim for a drone that can shoot in at least 4K resolution. This not only provides incredible detail but also gives you the flexibility to crop, reframe, and stabilize your footage in post-production without a significant loss in quality. Also, look for a camera with a good sensor size (like 1-inch or Micro Four Thirds) for better low-light performance and dynamic range.
- Intelligent Flight Modes: Features like “Point of Interest” (which automatically orbits a subject), “ActiveTrack” (which follows a moving subject), and pre-programmed flight paths can help you execute complex shots perfectly with minimal effort. These are invaluable tools, especially for solo operators.
- Battery Life: More flight time means more opportunities to get the perfect shot. Look for drones that offer at least 25-30 minutes of flight time per battery. It’s always a wise investment to purchase several extra batteries.
Before You Fly: The Essential Pre-Flight Checklist
Great drone videography isn’t just about what happens in the air; it’s about the preparation on the ground. A thorough pre-flight routine not only ensures safety but also dramatically increases your chances of capturing incredible footage.
Know the Law
The sky is not a free-for-all. In most countries, drone operations are regulated. For instance, in the United States, the Federal Aviation Administration (FAA) has specific rules. For recreational flying, you’ll need to pass The Recreational UAS Safety Test (TRUST). For any commercial work, you must be certified under Part 107. Always research the local laws for your area, including restrictions around airports, national parks, and crowds.
Location Scouting and Planning
|
Our Picks for the Best Drone in 2026
As an Amazon Associate I earn from qualifying purchases.
|
||
| Num | Product | Action |
|---|---|---|
| 1 | DJI Mini 5 Pro Fly More Combo with DJI RC 2, Drone with Camera, 1-Inch CMOS, 4K Drone for Beginners with Omnidirectional Obstacle Sensing, ActiveTrack 360°, 225° Gimbal Rotation, 3 Batteries |

|
| 2 | Drone with Camera - Drones for Adults, with 2 Batteries, Carrying Case, Propellers, 1080P HD Foldable Drone with Stable Hover, Trajectory Flight, Gravity Control, One Key Take Off/Land, 3D Flip |
|
| 3 | DJI Neo, Mini Drone with 4K UHD Camera for Adults, 135g Self Flying Drone that Follows You, Palm Takeoff, Subject Tracking, QuickShots, Stabilized Video, Built-In Propeller Guard (Controller-Free) |
|
| 4 | DJI Mini 3 (DJI RC), Lightweight 3x Mechanical Gimbal Drones with Camera for Adults 4K, 38-min Flight Time, up to 32800ft (10km) Video Transmission, Vertical Shooting, GPS Auto Return Integrated |
|
| 5 | DJI Neo Three-Battery Combo, Mini Drone with 4K UHD Camera for Adults, 135g Self Flying Drone that Follows You, Palm Takeoff, Subject Tracking, QuickShots, Stabilized Video (Controller-Free) |
|
| 6 | Drone with Camera for Adults, 2K HD FPV Drones with Upgrade Altitude Hold, One-Key Take Off/Landing, Speed Adjustment, Headless Mode, 2 Batteries, Toys Gifts for Teen Boys Girls, Beginner |
|
| 7 | Drone with 1080P Camera for Beginners and Adults, Foldable Remote Control Quadcopter with Voice Control, Gestures Selfie, Altitude Hold, One Key Start, 3D Flips, 2 Batteries, Toy for Beginners |
|
| 8 | DJI Mini 3 Fly More Combo (DJI RC), Drones with Camera for Adults 4K, 3 Batteries for 114-min Flight Time, Vertical Shooting, 32800ft (10km) Video Transmission, Lightweight Mini Drone for Beginners |
|
| 9 | Drone with Camera 1080P HD FPV Foldable Drone for Adults and Beginners, RC Quadcopter with Gravity Control, One Key Take Off/Land, Optical Flow Positioning, 360° Flip, 3 Speed Mode, Waypoint Fly Grey |
|
| 10 | LỖI |
|
Never arrive at a location without a plan. Use tools like Google Earth to scout your location virtually. Identify potential takeoff and landing spots, look for obstacles like power lines or tall trees, and envision the shots you want to capture. Having a shot list before you even launch saves battery life and helps you tell a more cohesive story.
Weather is Everything
Your drone’s biggest adversary can be the weather. High winds make it difficult to fly smoothly and drain the battery faster. Rain can damage your drone’s electronics. The best light for filming is typically during the “golden hour”—the first hour after sunrise and the last hour before sunset. The low, soft light during these times creates beautiful colors and long, dramatic shadows, adding a cinematic quality to your footage that the harsh midday sun simply can’t match.
Mastering the Craft: Essential Camera Settings
To move beyond amateur-looking footage, you must take control of your camera’s settings. Leaving it on “Auto” might be easy, but mastering manual mode is the key to unlocking your drone’s full cinematic potential.
Resolution and Frame Rate
Set your resolution to 4K if available. For the frame rate, 24 frames per second (fps) is the standard for a classic cinematic look. If you plan to create slow-motion effects in your edit, shoot at 60fps or even 120fps; this allows you to slow the footage down smoothly in your editing software.
The 180-Degree Rule Explained
This is a fundamental principle of cinematography. In simple terms, your shutter speed should be set to double your frame rate. So, if you are shooting at 24fps, your shutter speed should be 1/50th of a second. If you are at 60fps, it should be 1/120th. This rule creates a natural-looking motion blur that is pleasing to the human eye. Deviating too far from it can result in footage that looks choppy or overly surreal.
As veteran aerial cinematographer Julian Carter puts it, “The 180-degree rule is the bedrock of cinematic motion. Mastering it is the first step in moving from simply recording with a drone to truly filmmaking with one.”
Why You Need ND Filters
But how do you maintain a slow shutter speed like 1/50th on a bright, sunny day? The footage would be completely overexposed. The solution is Neutral Density (ND) filters. Think of them as sunglasses for your drone’s camera. They reduce the amount of light entering the lens, allowing you to keep your shutter speed low to comply with the 180-degree rule, even in direct sunlight. They are an absolutely essential accessory for serious drone videography.
Flying Like a Pro: 7 Cinematic Drone Maneuvers
The difference between a good shot and a breathtaking one often comes down to the movement of the drone. The key is to be smooth, slow, and deliberate with your controls. Here are seven classic maneuvers to practice.
- The Reveal Shot: Start with the drone positioned behind an object (like a tree, building, or hill) and slowly fly upwards or sideways to reveal the main subject. This creates a powerful sense of discovery and drama.
- The Tracking Shot: Fly the drone parallel to a moving subject, keeping it in the frame. This is perfect for following cars, boats, or people to create a dynamic sense of action.
- The Orbit: This is a classic drone shot where you fly in a perfect circle around your subject. Modern drones often have a “Point of Interest” mode that automates this, allowing you to focus on the camera’s tilt and altitude.
- The Pull-Back Shot: Begin with a close-up on your subject and slowly fly backward and/or upward. This shot is excellent for revealing the scale of the environment and is often used as a powerful closing shot for a scene.
- The Top-Down Shot: Also known as a “bird’s-eye view,” this involves pointing the camera straight down (90 degrees) and flying over a scene. It offers a unique, graphic perspective that is great for showing patterns and symmetry.
- The Parallax Shot: This is a more advanced technique that adds incredible depth. To perform it, you fly the drone in one direction (e.g., sideways to the left) while rotating, or “yawing,” the drone in the opposite direction to keep the subject in the frame. This makes the background appear to move separately from the foreground, creating a 3D effect.
- The Fly-Through: As the name suggests, this involves flying the drone through a gap, like an archway, a window, or between two trees. It creates an immersive, first-person perspective but requires significant practice and spatial awareness to execute safely.
The Final Touch: Post-Production and Editing
Capturing the footage is only half the battle. A great edit is what brings your story to life. In post-production, you will assemble your best clips, but more importantly, you will refine their look and feel.
Color grading is a crucial step. This is where you adjust the colors and tones of your footage to create a specific mood. You can warm up the tones for a romantic, golden-hour feel or cool them down for a more dramatic, somber atmosphere. Learning even basic color correction and grading will improve your drone videography immensely. Pacing your edits and choosing the right music are also essential for creating an emotionally impactful final video.
Frequently Asked Questions (FAQ)
What’s the best drone for a beginner in videography?
For beginners, a drone from the DJI Mini series is often a great starting point. They are relatively affordable, easy to fly, don’t require registration in many regions due to their low weight, and still offer excellent 4K video quality and a 3-axis gimbal.
Do I need a license for drone videography?
It depends on your location and the purpose of your flight. In the US, if you are flying purely for fun, you just need to pass the free TRUST test. However, if you intend to use the footage for any commercial purpose (including monetizing on YouTube), you must obtain a Part 107 certificate from the FAA. Always check your local regulations.
How do I make my drone footage look less shaky?
The number one cause of shaky footage is abrupt or jerky control inputs. Practice flying slowly and smoothly. Make gentle, coordinated movements on the control sticks. Ensure you are not flying in winds that exceed your drone’s specifications, and always use a drone with a 3-axis mechanical gimbal.
What is the “180-degree rule” in simple terms?
The 180-degree rule is a guideline to make your video’s motion blur look natural and cinematic. The simple formula is to set your camera’s shutter speed to be twice your frame rate. For example, if you’re filming at 24 fps, set your shutter speed to 1/50th of a second.
What are ND filters and why do I need them for my drone?
ND (Neutral Density) filters are like sunglasses for your drone’s camera lens. They reduce the amount of light entering the sensor. This is essential for drone videography because it allows you to maintain a slow, cinematic shutter speed (following the 180-degree rule) on bright, sunny days without overexposing your image.
Your Journey Begins Now
Drone videography is an incredibly rewarding skill that opens up a world of creative possibilities. It allows you to share a unique and powerful perspective, transforming ordinary scenes into cinematic masterpieces. Like any craft, it requires practice, patience, and a commitment to learning. But by understanding your gear, planning your flights, mastering your settings, and flying with intention, you are well on your way. So grab your drone, head out safely, and start telling stories from the sky.
Frequently Asked Questions
What is the best drone for a beginner in videography?
For beginners, the DJI Mini series is an excellent starting point. These drones are affordable, easy to fly, often don't require registration due to their low weight, and provide excellent 4K video quality with a 3-axis gimbal.
Do I need a license for drone videography in the US?
In the US, recreational drone pilots must pass the free TRUST test. However, if you plan to use footage for any commercial purpose, including YouTube monetization, you must obtain a Part 107 certificate from the FAA. Always verify local regulations.
How can I make my drone footage look less shaky and more stable?
To reduce shaky footage, practice making slow, smooth, and gentle control inputs. Avoid flying in winds that exceed your drone's specifications, and always use a drone equipped with a 3-axis mechanical gimbal for optimal stabilization.
What is the 180-degree rule in cinematography for drones?
The 180-degree rule is a fundamental cinematography guideline that ensures natural-looking motion blur in your video. It dictates that your camera's shutter speed should be set to double your frame rate; for example, if filming at 24 frames per second (fps), your shutter speed should be 1/50th of a second.
Why are ND filters essential for professional drone videography?
ND (Neutral Density) filters act like sunglasses for your drone's camera, reducing the amount of light entering the sensor. This is crucial for maintaining a slow, cinematic shutter speed (following the 180-degree rule) on bright, sunny days without overexposing your footage, which is vital for professional results.
Master Drone Videography for Cinematic Footage
Learn how to capture stunning, cinematic aerial footage by choosing the right drone, preparing for flight, optimizing camera settings, and executing professional maneuvers.
Select a drone with a 3-axis gimbal for smooth video, a camera capable of at least 4K resolution, and intelligent flight modes. Prioritize models offering 25-30 minutes of flight time per battery for extended shooting sessions.
Research local drone laws, such as FAA Part 107 certification for commercial use in the US. Scout your location using tools like Google Earth to identify obstacles and plan your shots, and always check weather conditions, aiming for the 'golden hour' for best lighting.
Set your resolution to 4K and frame rate to 24fps for a cinematic look, or 60-120fps for slow-motion effects. Apply the 180-degree rule by setting your shutter speed to double your frame rate (e.g., 1/50th for 24fps) and use ND filters to manage exposure in bright conditions.
Master maneuvers like the Reveal Shot, Tracking Shot, Orbit, and Pull-Back Shot to add dynamic movement to your footage. Focus on smooth, slow, and deliberate control inputs to achieve professional-looking aerial sequences.
Assemble your best clips and use color grading to adjust tones and create a specific mood for your video. Pay attention to pacing and music selection to enhance the emotional impact and storytelling of your final edit.
Get our weekly buyer guide
Practical specs, not advice. Unsubscribe anytime.
I’ve been trying to get into drone videography for a while, and the tips on cinematic flight maneuvers in this guide were a game-changer. My footage used to look so amateur, but after practicing some of the techniques, especially the orbit shot, it’s much smoother. The advice on using ND filters also made a huge difference in bright conditions. Definitely recommend this for anyone serious about improving their drone videos.
Finally, a guide that breaks down drone videography without being overly technical! The explanation of the 180-degree rule was something I’d heard before but never fully understood until now. My footage looks so much more professional and less jarring. It’s clear that understanding these core techniques is just as important as having a good drone.
This guide really helped me understand the importance of a 3-axis gimbal. I was using an older drone without one, and the difference in stability is night and day with my new setup. The section on optimizing camera settings was also super helpful for getting that crisp 4K resolution. I still need to work on my pre-flight checks, but I feel much more confident now.
Good overview, especially the parts about intelligent flight modes. I was hoping for a bit more detail on specific drone models for different budgets, though. It mentions choosing the right aerial steed, but doesn’t really dive deep into brands or price ranges. Still, the general advice on camera resolution and gimbals was solid.